When making an iOS app that uses Core Data, you would usually make dummy data in the app on a Simulator and see if your data logic is working or not. But what if you wanted to test the app on another Simulator while using the data you’ve already made before? A naïve solution would be to go into the app installed in the other Simulator and recreate the dummy data. This is of course a waste of time.
A better way is to copy the Core Data database files on one Simulator and transfer them into another. That way, you can now test the app on the new Simulator without needing to recreate data.
To be able to do this, a few assumptions are made:
- You are developing an iOS app with Xcode that utilizes Core Data
- You already made the data model and are using the entity objects in your code
- You opened your app in one Simulator and made all sorts of dummy data in it
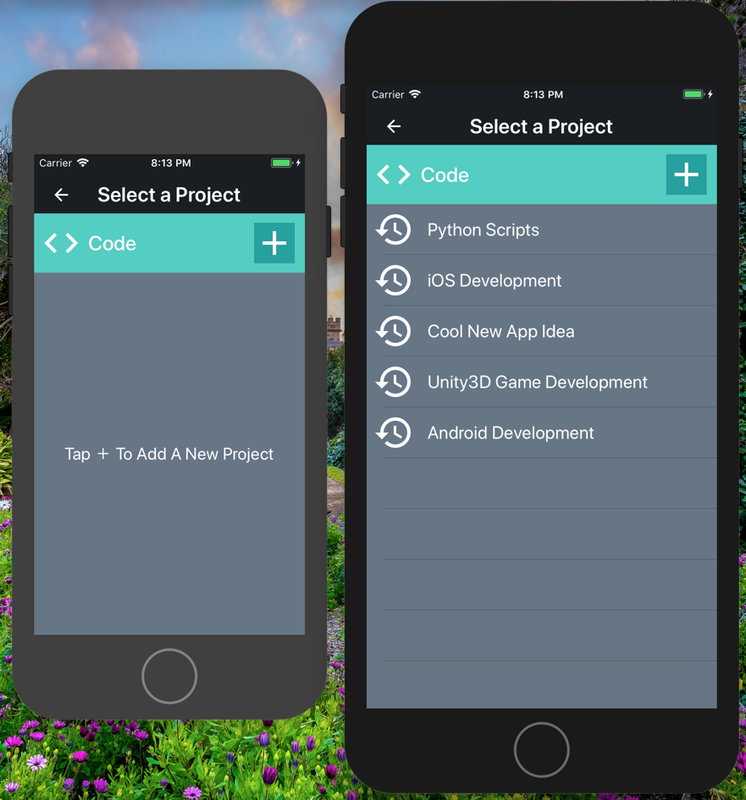
- You opened your app in another Simulator and made at least 1 piece of data that’s saved.
- This is important, because if your Core Data app has no data, it won’t have the folders you need to drag the database files into!
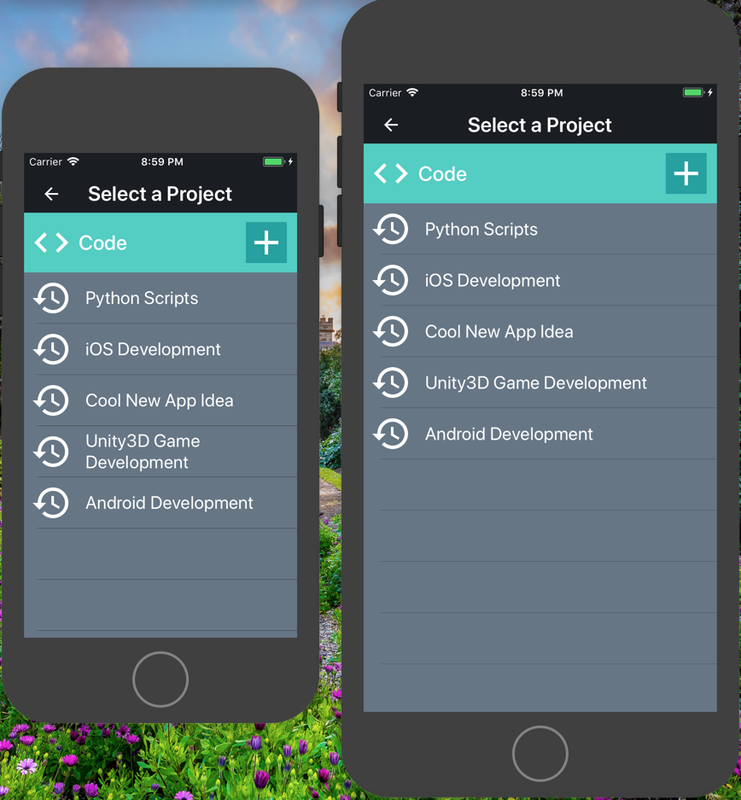
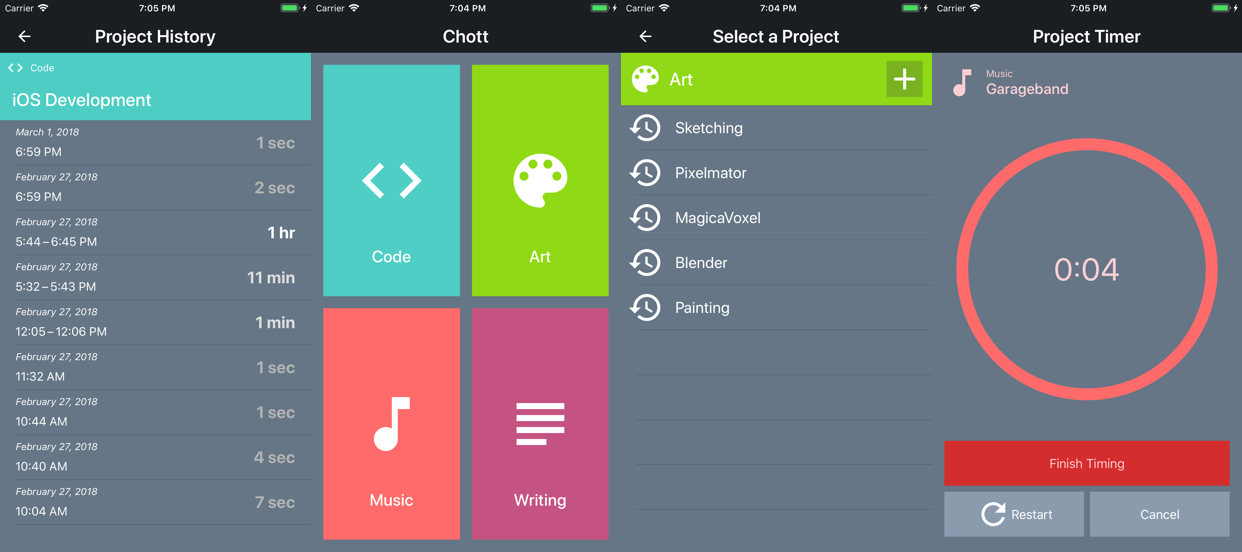
For this demonstration, I have Core Data entities saved into an iPhone 8 Plus Simulator and I want to transfer them to an iPhone SE Simulator. The app being used for demonstration is called “Chott”.
Here’s how to transfer the Core Data storage from one Simulator into another:
- On your Mac, go to
~/Library/Developer/CoreSimulator/Devices/with Finder. - You will see a heck of a mess of folders with random IDs as names. These folders represent all the different Simulators that Apple installed on your computer. Be sure to sort the files by
Date Modified, otherwise it will be a nightmare to look for the right device.
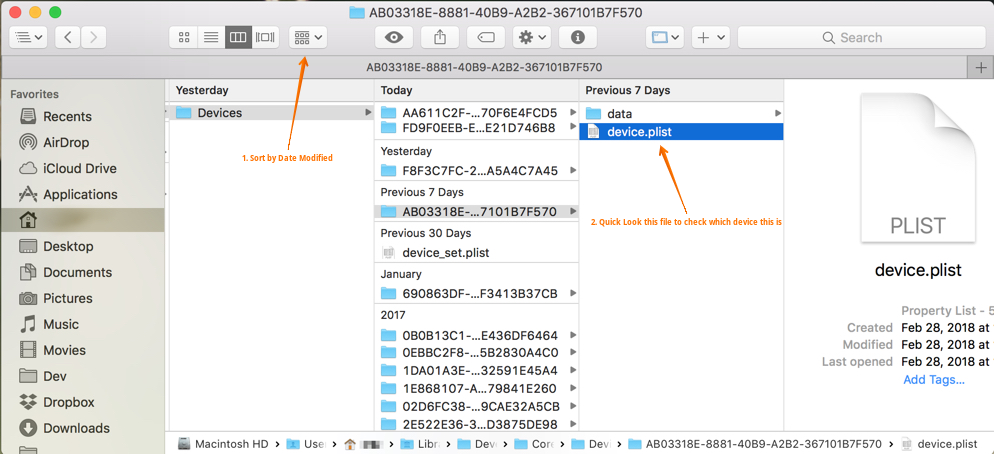
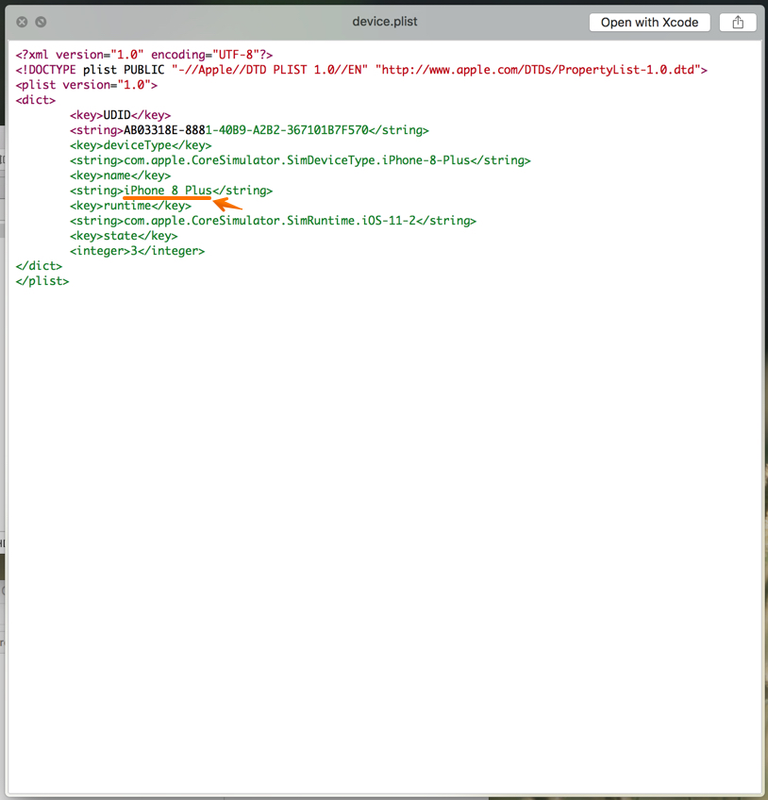
- Going into those strangely named folders, you will find a file called
device.plist. Use Quick Look to check what device this directory represents. In this example, we’re looking for an iPhone 8 Plus.
- When you’ve found the right device folder, now we must dive deep. There is a folder besides
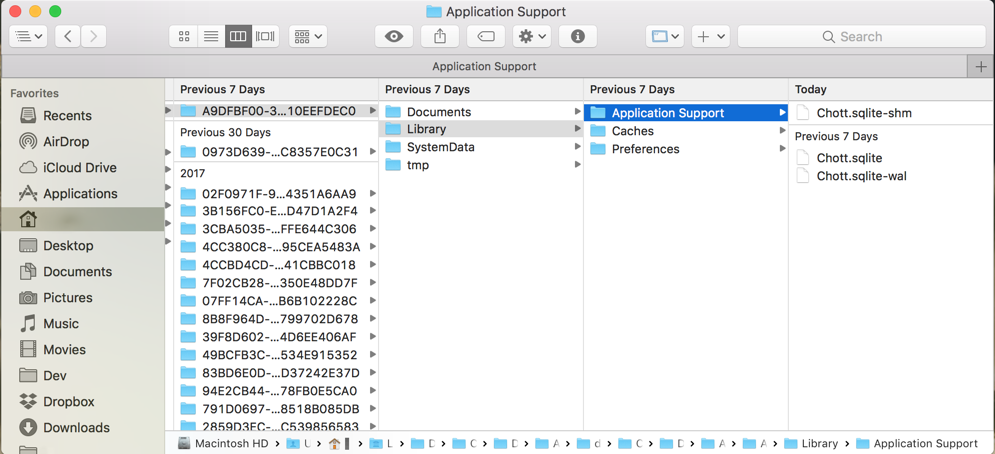
device.plistcalleddata. Now dive into./data/Containers/Data/Application/. Here, you’ll find more crazy folders of strange IDs. These represent apps installed in the current Simulator, you have to guess which folder is the right one by going deeper:./[ID]/Library/Application Support/. If you chose the right folder, you should find three files that all start withChott, which is the app we’re looking for.
-
All three files (
.sqlite,.sqlite-shm, and.sqlite-wal) are important, as they contain the app data you made through the Simulator. Copy these files somewhere convenient, and go back up the directory to~/Library/Developer/CoreSimulator/Devices/. Look through the devices like before and search for iPhone SE, then go to./data/Containers/Data/Application/[ID]/Library/Application Support/, making sure that the files in there are also calledChott. -
Copy and paste the files you extracted from the other Simulator into this folder, replacing everything. (When you do this, make sure the app is closed on the iPhone SE Simulator. I don’t want to know what happens!)
And that’s that! Now your data is ready to go on another Simulator. Great for Core Data testing on multiple Simulators.