Lately, I’ve been learning iOS development in order to increase my skills. I’ve gotten pretty comfortable with Xcode 9 and Swift 4, and I even have a some idea of how submitting to the App Store works (although it’s still pretty complicated).
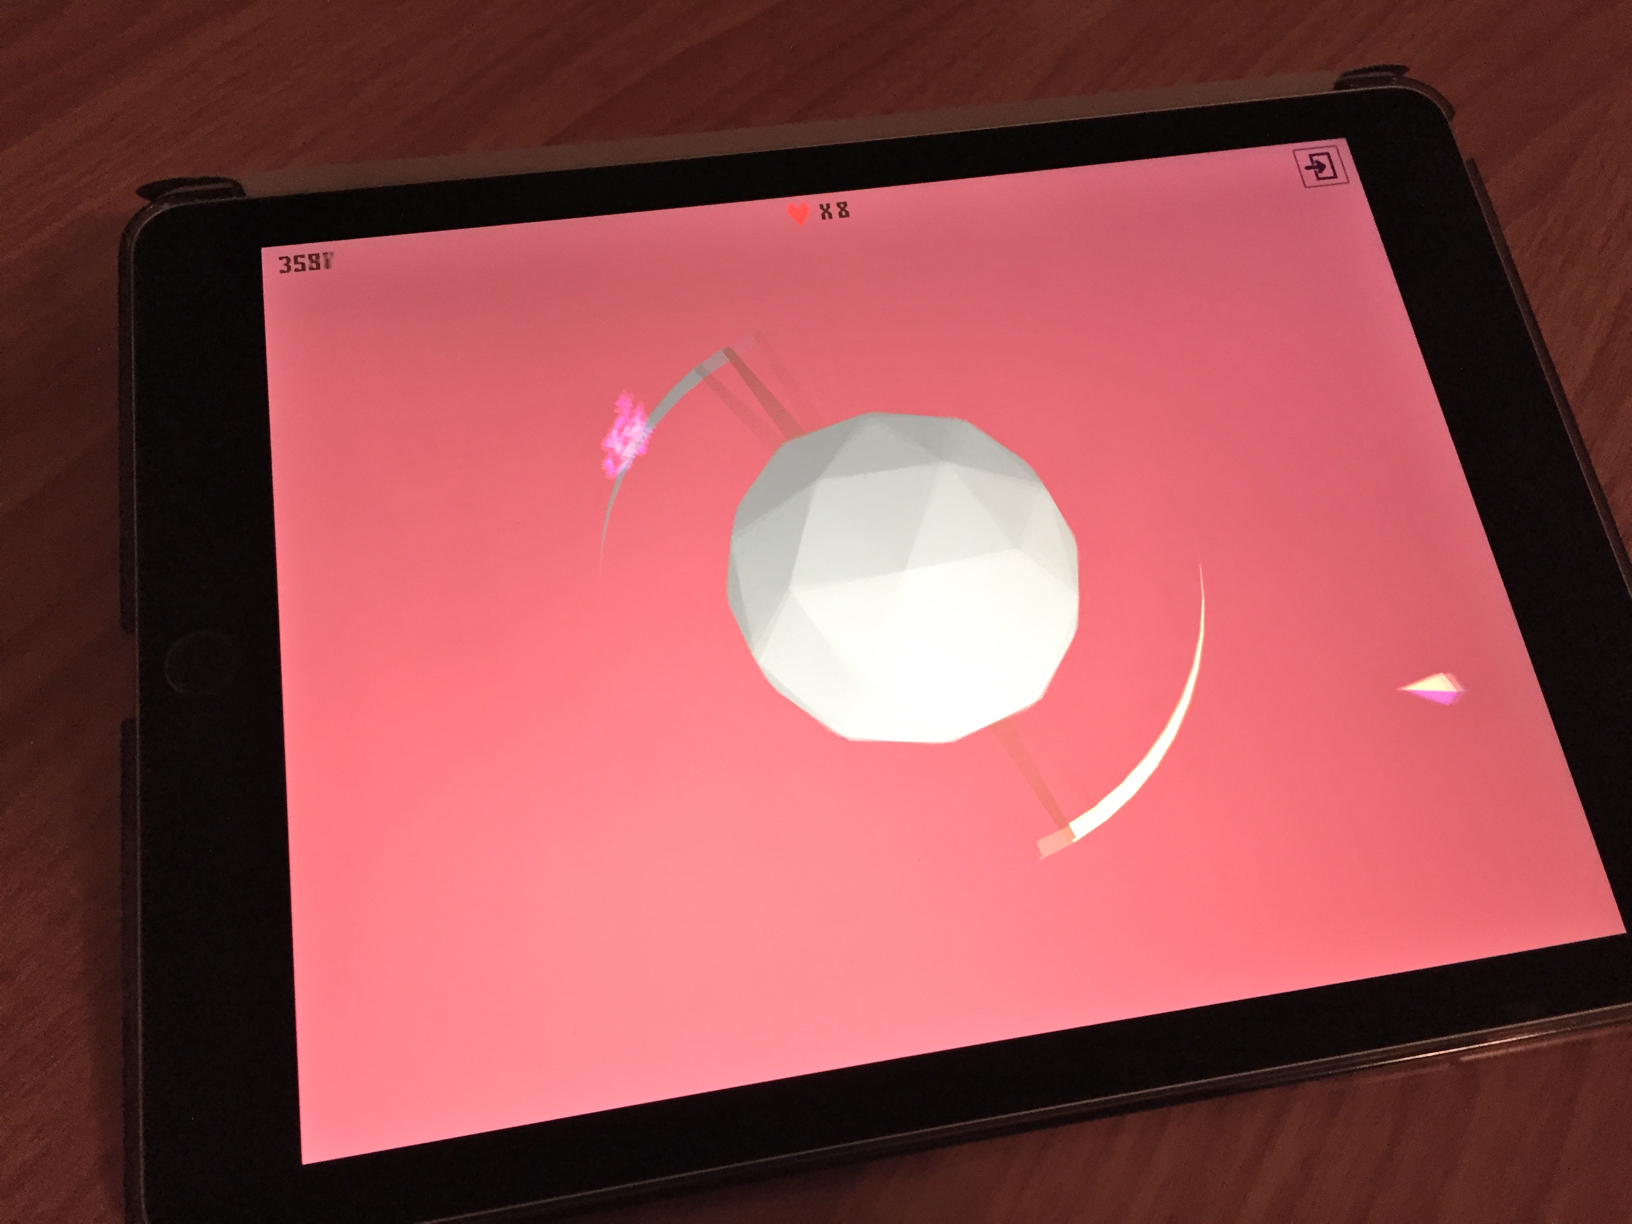
I soon realized that I might be able to submit something I already made to the App Store. So lately, I’ve been looking over Gyra and trying to make it suitable for submission. My reason for choosing Gyra is because it’s relatively polished, and was already made mobile-friendly. The game was made 2 years ago for Ludum Dare, but because it’s simple, I felt this would be a good project to get onto the App Store.
I only needed to do a few tweaks to Gyra before it would be ready for submission. Firstly, I made the game UI larger, so that it would look good on mobile devices. I did some tests on an iPhone 6 and an iPad Pro 9.7”, and found the original UI too small. Currently, I’m not sure how anyone would factor scaling of in-game UI to different screen sizes (like mobile vs. desktop for example).
I provided app icons and splash screens for Unity’s Player Settings, but long story short, there are some issues with stretching and quality of icons and splashes (using Unity 2017.2 at the moment).
Fixing App Icons
For starters, to make a bunch of images that an iOS app icon requires, I made a single 1024x1024px image. Then I uploaded it a nice web app called MakeAppIcon which helps you generate all of the necessary scaled images needed for an iOS app icon. I downloaded the generated zip of images and put them into the Unity project. In Player Settings, you can override game icon for iOS (and Android if you want), and I placed the different icon sizes into the different image slots.
Update 2023: If you want an alternative to MakeAppIcon, there is Website Planet’s Favicon Generator, which can generate icons for iOS and Android (just be sure to select “All sizes, please!” in the settings). Thanks to fellow reader Emma for the suggestion!
But an issue occurs concerning the quality of the icon images. If you build your Unity project to iOS (generating an Xcode project), and you build the exported project to your device, you will find the quality of the app icon to be lacking. I suspect that this is a bug with Unity that needs to be addressed.
Here’s how to make sure your icons are top quality for an iOS game made in Unity:
- Make your app icon images (as I mentioned above with MakeAppIcon).
- Build your Unity game for iOS and open the generated Xcode project.
- In the Project Navigator, open the file
Images.xcassets. - In this file, locate the AppIcon set and delete it (Right Click -> Remove Selected Items).
- Click on the plus icon at the bottom of the screen (+) and select App Icons and Launch Images -> New iOS App Icon. The new set should be called AppIcon. The reason you have to do this is because Xcode will make a more up-to-date icon set than the one Unity provides.
- Place in your generated app icons into this new icon set.
When I built the game after this, the app icon looked much better on my iOS devices. I unfortunately wouldn’t trust Unity’s ability to export app icons for iOS.
Fixing Launch Images
Unity’s ability to export a game into iOS is mostly good. But I have found that one of the most obnoxious things to get working after exporting is the launch screen (the first screen(s) the user sees before the game loads).
Long story short, I did not rely off Unity’s Splash Image settings. I would either get a black screen or an ugly stretched splash image when I did, which looked very unprofessional.
I then decided on tweaking the launch image manually in the generated Xcode project. Here’s what I did:
- Make a single square splash image that is 2208x2208 pixels. (This may not be suitable for every game project). The original splash image should be affixed with
@3xbefore the file extension. Now clone this image shrunk down to 1104x1104 pixels (affixed with@2x). Finally, clone again and shrink it down to 552x552 pixels. - Drag these three images into Xcode’s
Images.xcassetsfile. (The images should all have the same name, with the affixed@2xand@3x.) - In the generated Xcode Project Navigator, go to
LaunchScreen-iPhone.xib. Xcode may ask you to select a device to preview the screen in. Select any device. - Select the image view in Interface Builder, go the the Attribute Inspector and set the image to the new splash image you just added. You should update frames if you see orange line in Interface Builder.
- Repeat Step 4 with the file
LaunchScreen-iPad.xib - Go to the Xcode project’s General settings. Make sure the app target is selected on the top left corner. Scroll down to the section App Icons and Launch Images
- For the field Launch Images Source, choose Don’t use asset catalogs.
- For the field Launch Screen File, choose either
LaunchScreen-iPhone.xiborLaunchScreen-iPad.xib(didn’t matter in my case).
This more or less resolved my silly splash screen problems. Hopefully these issues will be resolved in a future version of Unity.